Essential Art Supplies for Sketching in 2025
Discover the three essential art supplies I use daily for sketching: pencils, a reliable sketchbook, and erasers with blending tools. Perfect for beginners, these supplies will help you start your art journey in 2025.
Black Heart
8/17/20255 min read
3 Must-Have Art Supplies Every Beginner Needs to Start Sketching
When I first picked up a pencil to sketch, I thought I needed a fancy kit, an expensive desk, and tools that only “real artists” used. But let me tell you the truth. I started with a single HB pencil, a rough notebook, and way too much excitement. The results? Well… let’s just say my first sketches looked more like doodles than art.
Over time, though, I realized something important: sketching doesn’t need a mountain of tools. It only needs the right tools, the ones that make practice fun instead of frustrating. And after years of trying and failing, I’ve boiled it down to just 3 must-have supplies that every beginner (yes, even you) should start with.
These are the exact things I use every single day when I sit down to sketch, and they’re also what I recommend to friends who ask me, “What do I need to begin drawing?”
So, if you’ve been lost in endless product lists, don’t worry. I’ll keep it simple. Let me walk you through the three art supplies that helped me grow from a confused beginner to a confident sketcher.
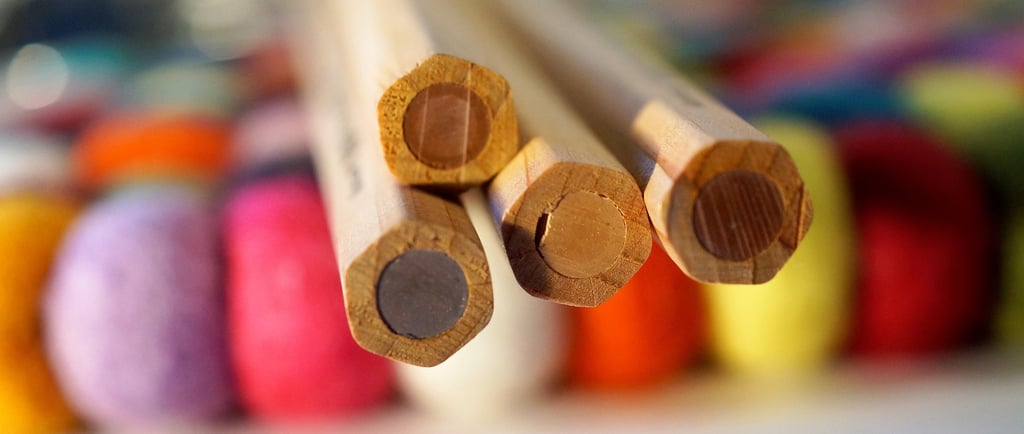
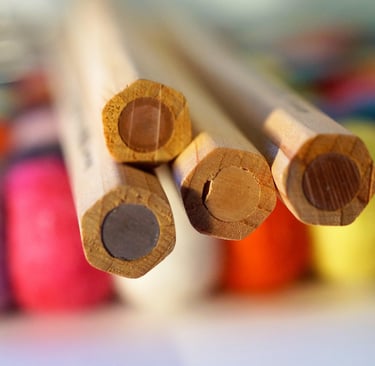
1. Pencils: Graphite and Charcoal
Let’s start with the most basic tool: pencils.
When I started, I only had one pencil, the good old HB. It worked fine for outlines, but when I tried to shade or add depth, everything looked flat. That’s when I discovered that pencils come in different grades, from hard and light (like 2H or 4H) to soft and dark (like 6B, 8B).
The harder pencils are great for light sketching and structure, while the softer ones give those rich shadows that make a sketch pop. And here’s the fun part, You can combine graphite with charcoal pencils for even bolder contrasts.
My process with pencils
Here’s how I usually work with them:
I start with a 2H or HB pencil for the light outlines.
Then I switch to 2B or 4B for the main sketching.
Finally, I bring out a soft 6B or 8B to darken shadows and add drama.
Sometimes, when I want intense blacks, I grab a charcoal pencil; nothing else gives that richness.
When I first added charcoal to my collection, it felt like discovering a secret weapon. Suddenly, my drawings had depth, mood, and life.
👉 What I use: Graphite pencil set
👉 Bonus for drama: Charcoal pencil set
If you’re a beginner, having both graphite and charcoal pencils in your collection will open up so many doors. Trust me, you’ll notice the difference the very first time you blend the two.
2. A Reliable Sketchbook
I can’t stress this enough: the paper you use matters.
At the very beginning, I used to draw in my old school notebooks. The paper was thin, rough, and every time I erased, it tore holes. On top of that, my shading was all over the place. It was frustrating.
Then, one day, I invested in my first real sketchbook. The difference was night and day. The paper was thicker, smoother, and suddenly my pencil strokes looked intentional. Shading blended better, erasing didn’t destroy the page, and I looked forward to filling every sheet.
How I use my sketchbook daily
I use the first few pages for warm-ups, lines, circles, and shading practice.
Then I keep sections for experiments (trying new techniques).
I also reserve some pages for “finished” sketches that I can look back on later.
On days when I’m not motivated, I just doodle; the sketchbook forgives everything.
Another thing I love is the psychological side of it. When I carry my sketchbook around, I feel like an artist. It pushes me to use it more, to observe the world, and to capture moments before they pass.
👉 What I use: Sketchbook
If you’re starting, don’t settle for printer paper or random notebooks. A decent sketchbook will not only protect your art but also make sketching so much more enjoyable.
3. Erasers and Blending Tools
This one might sound boring, but trust me, it’s a game-changer.
In my early days, I used my fingers to smudge. Sure, it worked, but it also left oil stains on the paper and messed up my drawings. The more I practiced, the more I realized I needed better tools for two things: fixing mistakes and blending smoothly.
That’s where erasers and blending stumps come in.
My eraser setup
I use a kneaded eraser when I want to gently lift graphite or create highlights (like light reflecting in an eye).
I keep a regular, hard eraser for cleaning bigger areas or sharp corrections.
My blending setup
Blending stumps (also called tortillons) are perfect for shading skin, fabric, or soft shadows.
They let me control the smoothness in a way my fingers never could.
Plus, they’re clean, reusable, and way more precise.
The first time I shaded with a stump instead of my finger, I couldn’t stop smiling. It instantly gave my sketch a professional look.
👉 What I use: Eraser + Blending kit
Even if you’re brand new, don’t skip this. It will make your sketches look way better, much faster.
Bonus: How I Use These 3 Together
Here’s a little example of how these tools work in harmony:
I grab my sketchbook, open to a clean page.
I start with a light HB pencil, laying down basic shapes.
Once I’m confident, I move to 2B and 4B for defining lines.
I switch to charcoal to deepen shadows and add drama.
I use a blending stump to smooth out gradients, especially in curved objects.
Finally, I grab my kneaded eraser to pull out highlights, maybe a shine on glass or a sparkle in the eye.
That’s it. With just these 3 tools, I can sketch almost anything, from quick studies to detailed portraits.
My Daily Practice Routine
Since I know some of you might be wondering how to practice with these tools, here’s what I do daily:
5 minutes: Warm-up (lines, circles, shading bars).
10 minutes: Quick sketch of something near me (a cup, my phone, my hand).
10 minutes: Focused practice, either shading, perspective, or texture.
5 minutes: Free doodle, just for fun.
That’s just 30 minutes a day. Over time, those small sessions add up to huge improvement.
Why Only 3 Supplies?
Now, you might be thinking: “But Black Heart, aren’t there dozens of other art supplies I should try?”
Yes, there are. But as a beginner, less is more. Too many tools can overwhelm you and distract you from the real goal, practicing daily.
These 3 supplies, pencils, a sketchbook, and erasers/blending tools, cover everything you need. You can create thousands of sketches without needing anything else. Once you feel confident, you can experiment with inks, markers, or digital drawing.
Final Thoughts
When I look back at my journey, I wish someone had told me to focus on just these three. It would’ve saved me time, money, and frustration.
So, if you’re ready to start sketching in 2025, don’t complicate it. Grab a solid pencil set, a reliable sketchbook, and a few erasers/blending stumps. That’s all you need to unlock your creativity.
And remember: tools are important, but practice is what makes the magic happen.
👉 Check out the supplies I use and recommend:
Graphite Pencil Set
Start simple, stay consistent, and watch your sketches come alive.
Artistry
Explore unique sketches and artistic creations today.
Inspiration
Creativity
info@theinkvista.in
© 2025. All rights reserved.